
The Raspberry Pi has gotten quite a lot of attention today, and it’s well deserved. Dollar for dollar it’s the most incredible computer available today, and at $35 it’s accessible around the world as an educational tool. There are many impressive projects out there today, everything from self-contained weather stations to supercomputer clusters. It’s an incredible platform to learn Linux on and a great platform to start developing on.
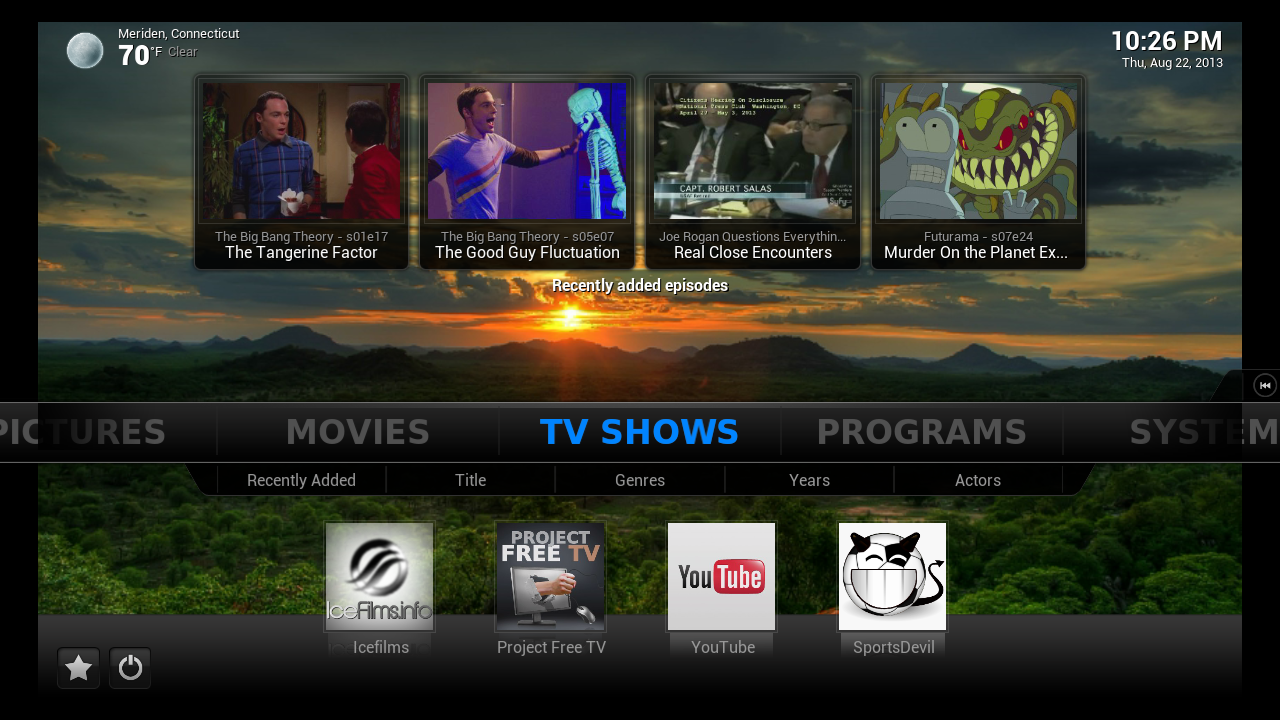
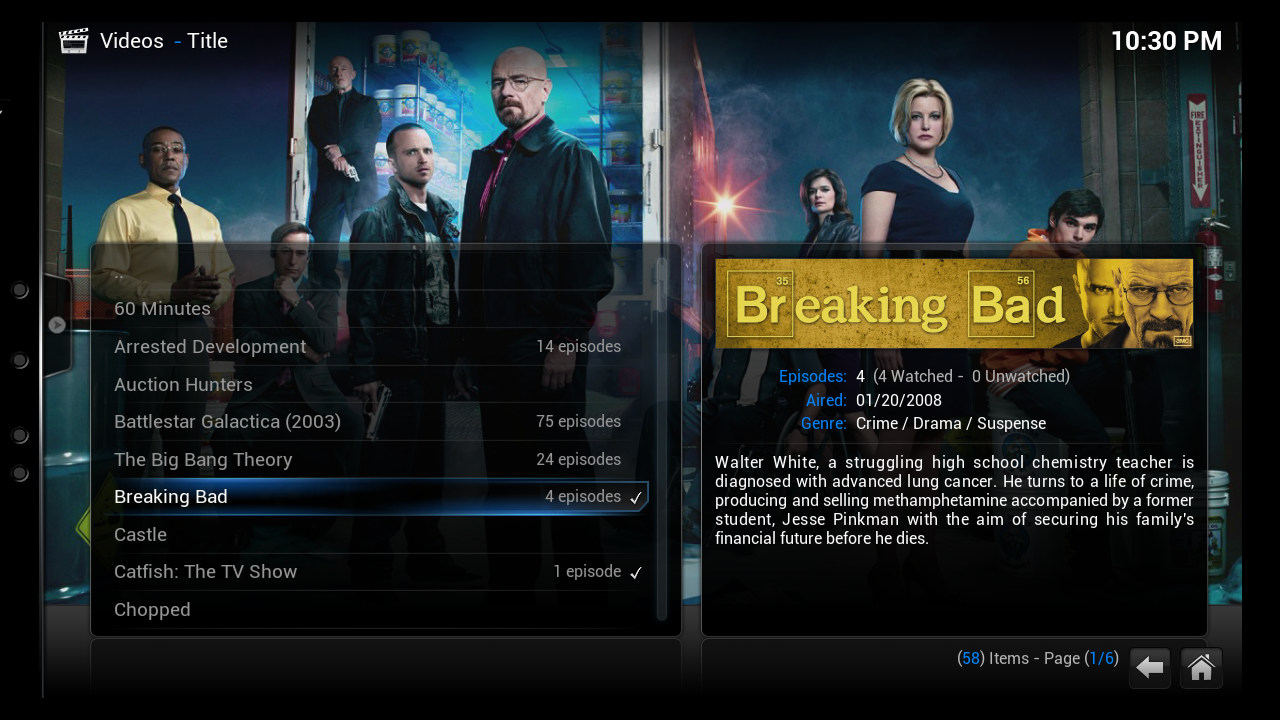
One of the many impressive things about the RPi is that it’s got a pretty powerful GPU on it, capable of 24 GFLOPs of processing power. This makes it a great candidate as a stand-alone media server and it’s one of the most popular RPi projects out there. There are a handful of ports out there of popular media servers, the most popular one being XBMC. Below I’ll outline my media server setup.
Hardware:
Configure:
Prepping the SD Card.
Step 1: Place an OpenElec image on the SD card using this guide: http://squirrelhosting.co.uk/
Prepping the External Hard Drive.
Step 2: Create an ext4 partition on the external hard drive. I used MiniTool to do this on windows: http://download.cnet.com/
If you have movies, music, or TV shows you want to have loaded into XBMC now is a good time to add them to those folders. For TV shows you want to organize them in the following folder structure: TVShows\Show Name\Season #\episode #-title.foo. Movies you can just dump into the Movies directories. Music should be Artist\Album\track #-song.foo
Initial Boot OpenElec/XBMC
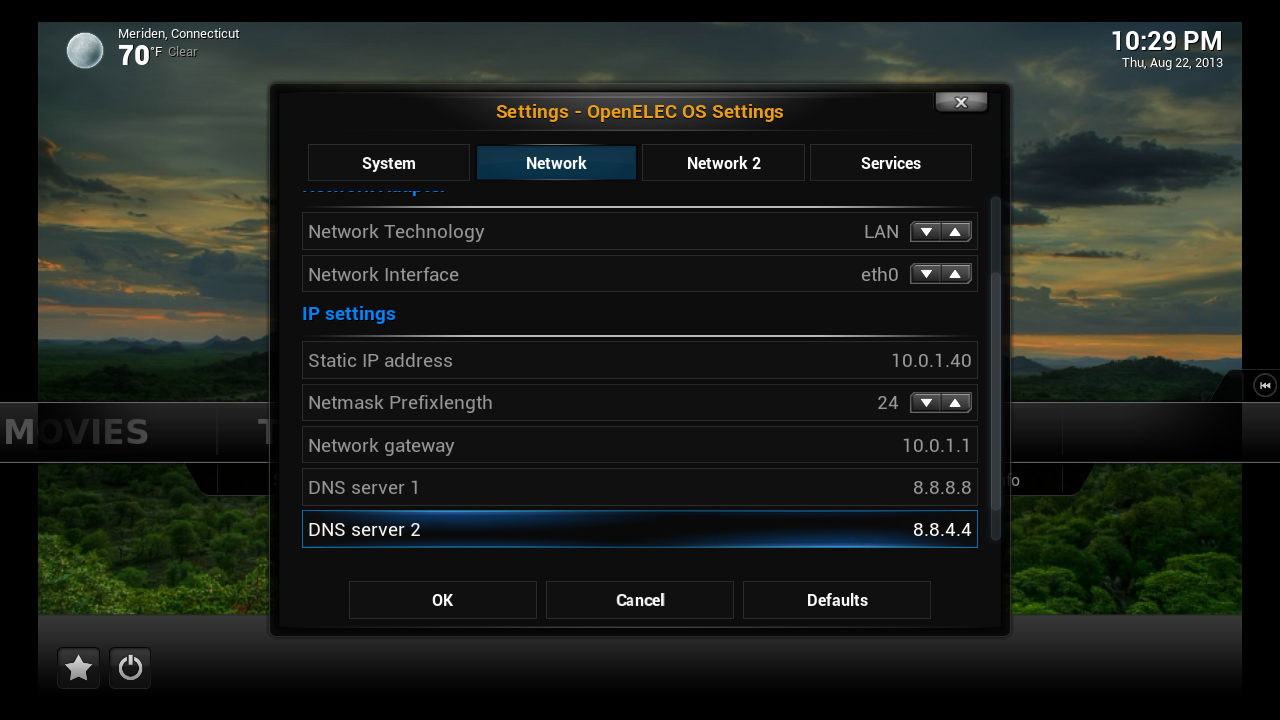
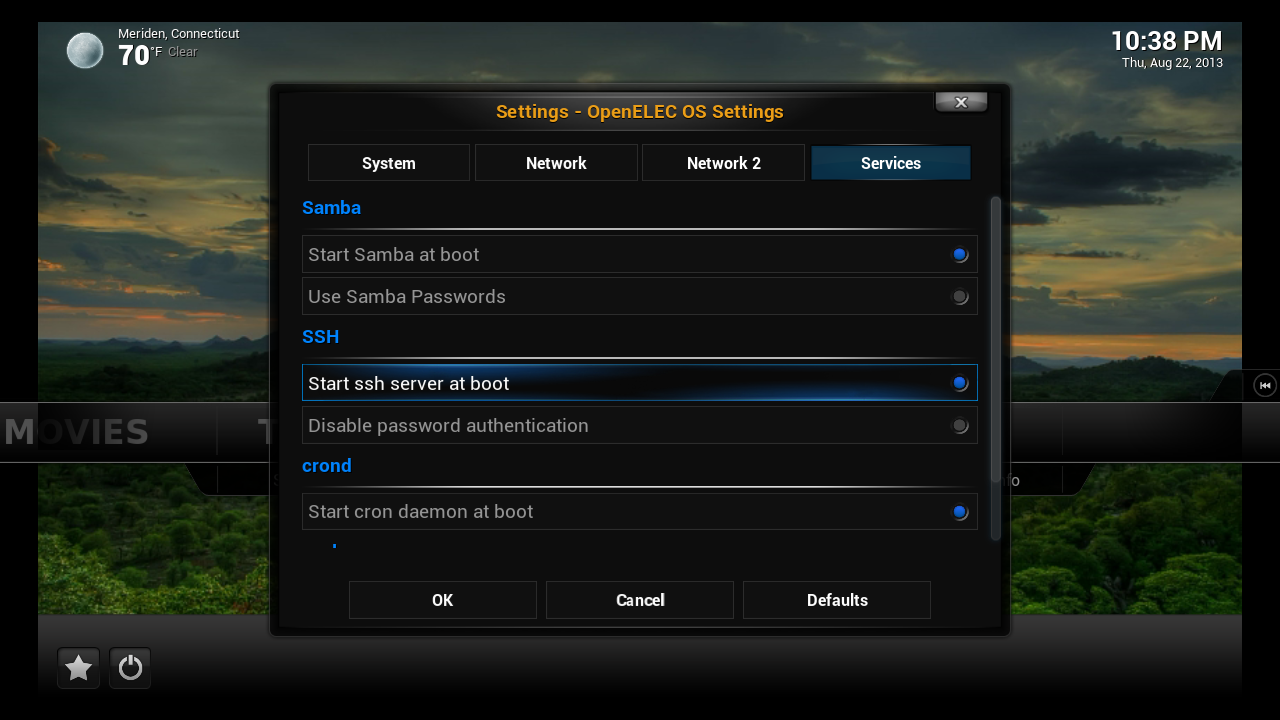
Step 3: Time to plug everything up: SD Card in, HDMI to TV, ethernet to network, hard drive to USB, and a keyboard will be useful for the initial setup at least. Powerup and the RPi will boot from the SD card. You’ll need to configure your network settings, which are in System/OpenElec. You’ll need to assign a static IP. If you’re using a wifi card be sure to set the hardware source to wlan0. If your using the onboard Ethernet it should be eth0. I use google’s dns servers (8.8.8.8 and 8.8.8.4). Make sure enable SSH on startup is on. Note: don’t be tempted to configure the rest of XBMC yet, you’ll lose all these settings once you move it to the external hard drive.
Move XBMC to Hard Drive Partition
Step 4: SSH into the RPi, U/P: root/openelec . (if you need an SSH client for windows, Putty is the way to go: http://www.chiark.greenend.
login as: root
##############################################
# OpenELEC - The living room PC for everyone #
# ...... visit http://www.openelec.tv ...... #
##############################################

OpenELEC (official) Version: 3.0.6
root@10.0.1.40's password:
openelec:~ #
Use the mount command to get a list of all external partitions.
openelec:~ # mount
rootfs on / type rootfs (rw)
devtmpfs on /dev type devtmpfs (rw,relatime,size=189064k,nr_inodes=47266,mode=755)
proc on /proc type proc (rw,relatime)
sysfs on /sys type sysfs (rw,relatime)
/dev/mmcblk0p1 on /flash type vfat (ro,noatime,fmask=0022,dmask=0022,codepage=cp437,iocharset=ascii,shortname=mixed,utf8,errors=remount-ro)
/dev/sda5 on /storage type ext4 (rw,noatime,data=ordered)
/dev/loop0 on / type squashfs (ro,relatime)
devpts on /dev/pts type devpts (rw,relatime,gid=5,mode=620)
tmpfs on /dev/shm type tmpfs (rw,relatime,size=76404k)
tmpfs on /var type tmpfs (rw,relatime,size=10240k)
debugfs on /sys/kernel/debug type debugfs (rw,relatime)
fusectl on /sys/fs/fuse/connections type fusectl (rw,relatime)
/dev/mmcblk0p2 on /var/media/Storage type ext4 (rw,nosuid,nodev,relatime,data=ordered)
/dev/sda1 on /var/media/ExternalDrive fuseblk (rw,nosuid,nodev,relatime,user_id=0,group_id=0,default_permissions,allow_other,blksize=4096)
openelec:~ #
In my case the ext4 partition ended up being /dev/sda5 (line 7) but it could very well be different for you. You’ll know it’s the one that doesn’t have the folders that you setup in the NTFS partition. Go ahead and make your SD card read/write:
mount –o rw,remount /flash
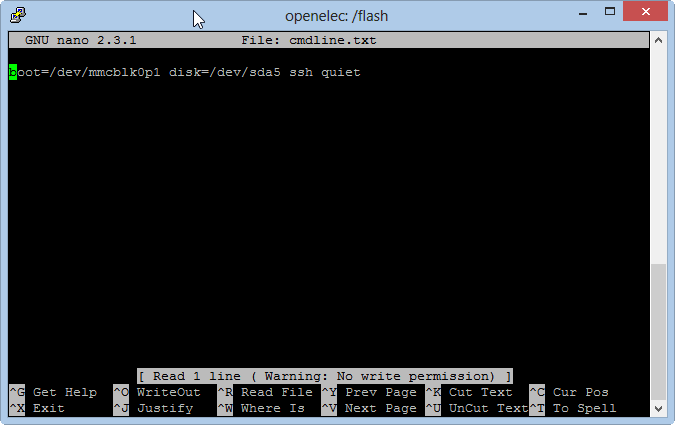
Next you need to edit the cmdline.txt file on the root of the SD card. We’ll do this using the built-in text editor, nano:
openelec:~ # cd ..
openelec:/ # cd /flash
openelec:/flash # ls
LICENCE.broadcom  bootcode.bin      fixup.dat         start.elf
README.md         cmdline.txt       kernel.img
SYSTEM            config.txt        openelec.ico
openelec:/flash # nano cmdline.txt
Edit the cmddline.txt for the disk= portion such that disk=/dev/sda5 (sda5 being the ext4 partion you found at the beginning of this step).
Reboot. Profit.
Initial Config of XBMC
Step 5: You’ll have to setup your networks again, setting a static IP. Now is a good time to go through the system menus and just get familiar with where various settings are. You’ll want to make sure that you turn ON the following settings: Start SSH at boot, Start Samba on Boot, Enable UPNP, Enable Other Applications To Control XBMC, Enable Applications on Other Machines to Control XBMC, Enable XBMC Web Interface (port 80). Turn off RSS feed. Reboot once you have all the options turned on.
Next you’ll want to add the folders from your external hard drive to the videos and music library – instructions can be found here:http://wiki.xbmc.org/index.
Other stuff
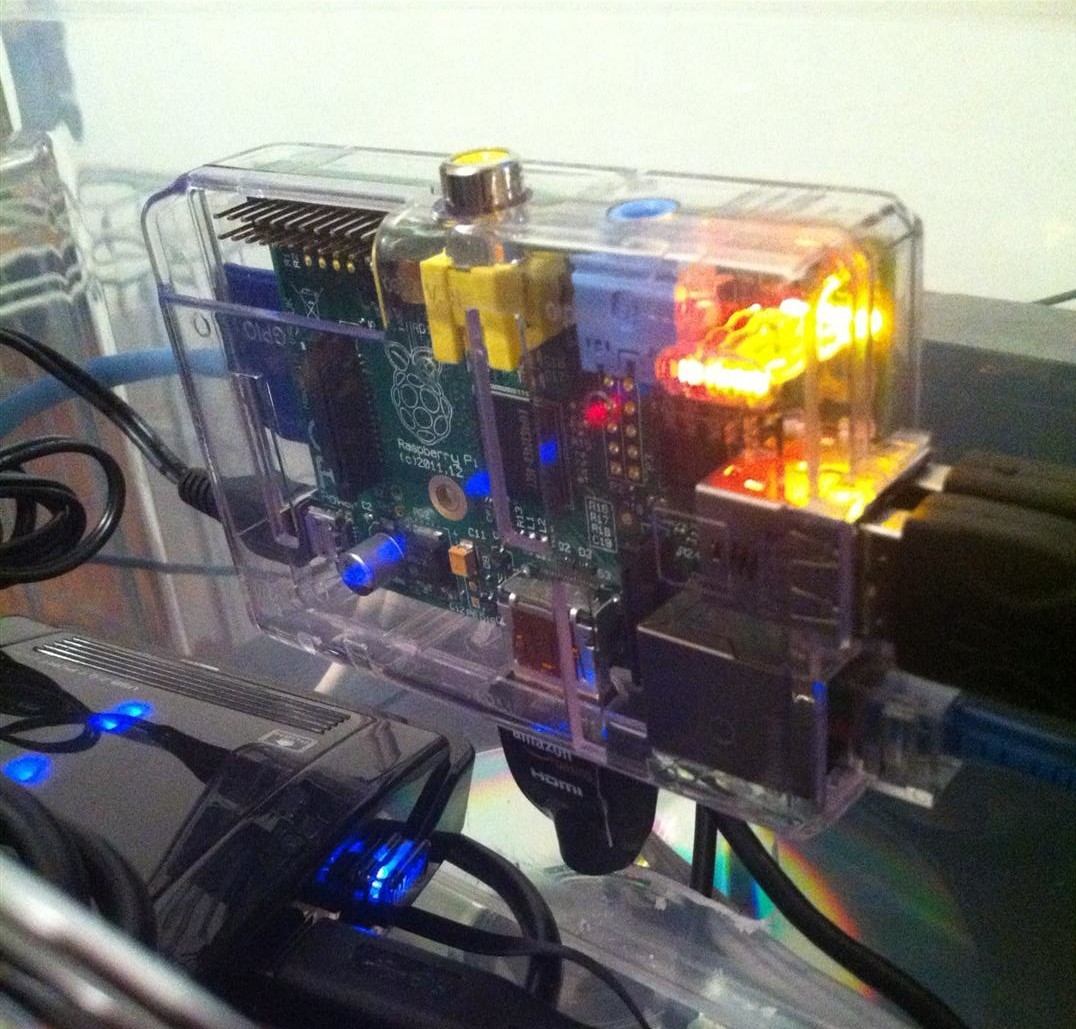
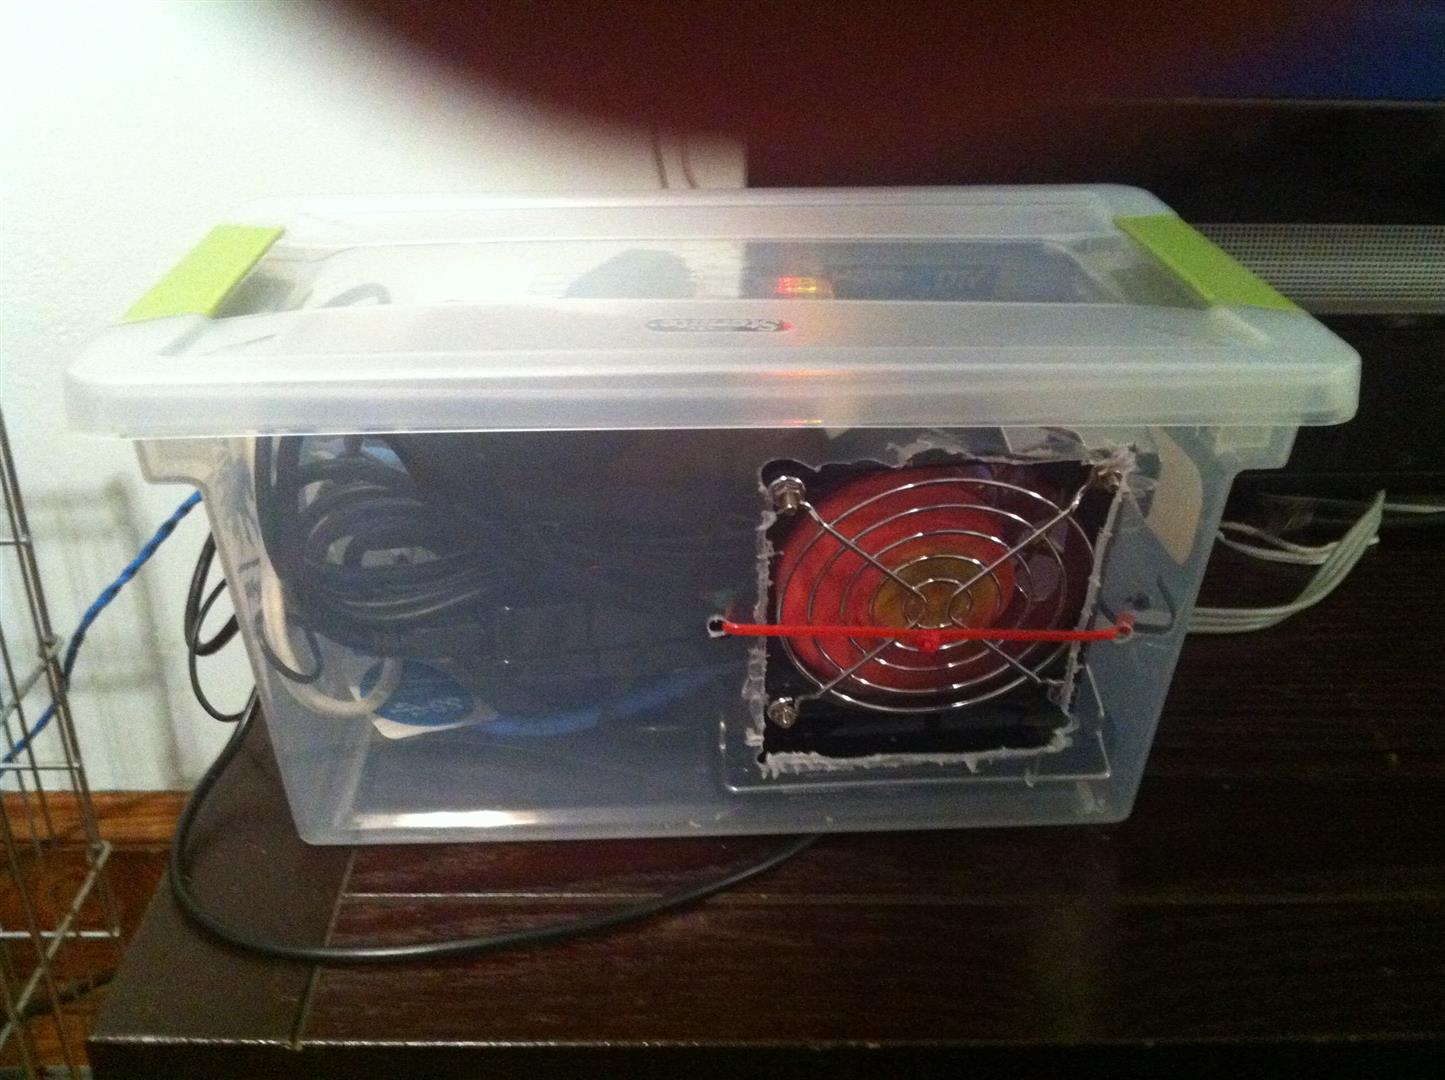
1) Make your stuff a home – plastic storage boxes are a cheap and easy way to house all these components. I’ll pretty mine up some day, zip ties keep everything in place:
2) The XBMC remote for the iPhone is incredible: http://wiki.xbmc.org/index.
3) The RPi can stream files to any UPNP Media Player (watch one thing on TV, stream another to another device). This is awesome on Tablets/iPad/iPhone around the house, I use ArkMC on my mobiles: https://itunes.apple.com/us/
Leave a Reply